Overview
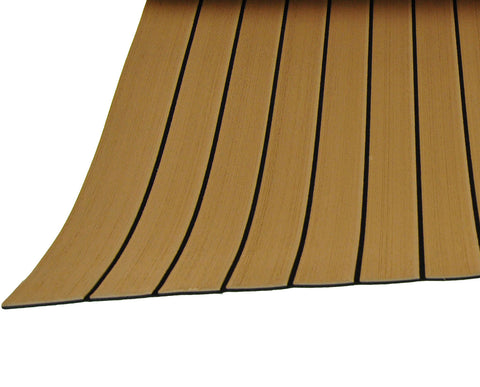
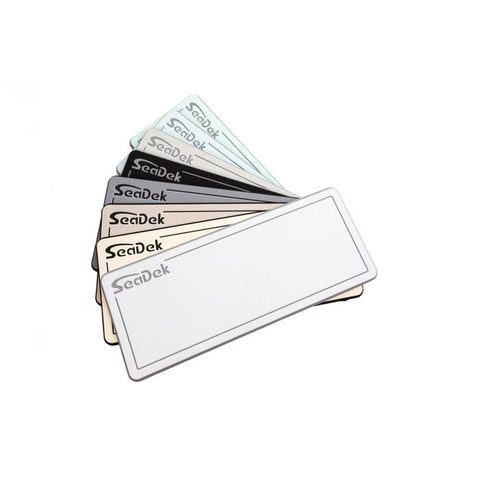
SeaDek Sheet Material is made from soft yet durable, non-absorbent PE/EVA blended foam material. This 40" x 80" sheet is 5mm thick and available in a variety of colors. Our sheet material is perfect for DIY projects. It can be cut with a sharp razor knife to fit a number of applications including seating, cooler tops, decking, and polling platforms. The possibilities are endless! SeaDek Sheet Material is backed with our 3M™ pressure sensitive adhesive to provide an easy peel-and-stick application.
Sheet Material Features
SeaDek offers a complete line of non-skid cut pads and sheet material that are perfect for any area on a boat that requires improved non-skid or padding in areas frequently used for sitting or kneeling. These products protect boats’ surfaces, preventing scratching and chipping. They also cover up surface imperfections, helping it look like new. SeaDek is made from soft, durable, UV resistant PE/EVA blended material specifically designed for the marine environment. SeaDek is a closed-cell material so it will not absorb water.
Perfect for the “Do It Yourselfer” all SeaDek pads come with our robust, marine grade, peel-and-stick adhesive backing for easy installation and are available in a wide range of colors.
Sheet Material Installation Instructions
The only items you’ll need for your installation should be a sharp razor blade, masking tape, window cleaner and a clean cloth.
Thoroughly clean the area where SeaDek will be applied. We recommend using a cleaner that will not leave any residue. A glass cleaner used with a clean cloth or scotch-bright pad works well. Make sure the area is completely dry before applying the pad.
If there is any glue, grease, adhesive or other substances on the area that the pads are to be applied, mineral spirits followed by acetone may be used to remove them. Be sure to use a glass cleaner afterwards as suggested above. Again the platform surface must be completely dry before applying the pad.
If pads are being applied to a new boat right from the factory it is very important that all mold release is thoroughly removed from the boat surface. Be sure to check with the boat manufacturer before applying pads. Arrange the pad to the exact location to be covered and verify proper fit and placement. Once you are sure the pad is the right size and are happy with the location turn the pad over so that the paper backing is facing up. With a sharp razor, carefully cut the paper backing right down the center being careful not to cut into the pad. From the center, peel up each side a little to make sure the backing is completely cut all the way through.
Turn the pad back over and reposition the pad exactly where you want it to be installed. Firmly secure one side of the pad to the platform using two-inch masking tape.
Now lift up the untapped side of the pad with one hand and loosen the paper backing with the other. This process is a little easier if you have someone to help you out. Slowly and carefully pull up the rest of the backing while applying the pad to the platform. Use your hand to apply pressure to the pad to assure a firm bond between the pad and the platform. Now remove the tape from the other side of the pad and repeat the application process just like you did on the first side. Take time to press the entire pad into place with your hands especially around the edges of the pad.
You can watch a video demonstration of this installation on our website: http://www.seadek.com under the DIY section.


